Pagi Gan
Kali ini transer ilmu tentang GOOGLE EARTH.
apa itu google earth? google earth adalah https://id.wikipedia.org/wiki/Google_Earth baca sendiri di situ njeh gan.. hehe..
intinya sih saya mau nembak wifi gan yg ada di sekitar rumah saya nah untuk nembak wifi itu harus tahu dulu nie jarak dan hambataan serta rintangan apa aja yang menghadang. nah dari pada saya naik" genteng clengak clengok ga jelas sambil bawa teropong buat ngintip tower wifi kan ga etis gan. salah-salah malah dikira ngintipin orang mandi kan jadi bahaya..
nah solusinya kita pake bantuan dari mbah turunannya mbah google yaitu google eart
langsung aja agan download sie turunannya https://www.google.com/earth/ ini wajib di download gan karna harus versi desktop... abis download jngn lupa di instal
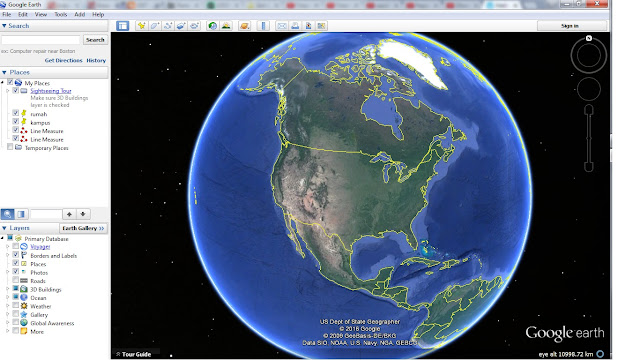
nie tampilan setelah di instal
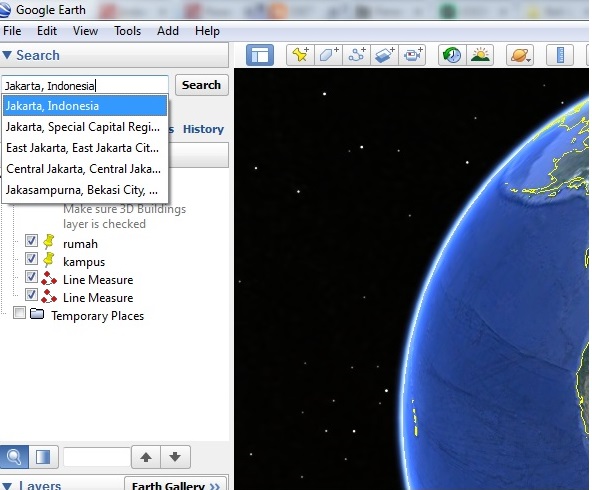
setelah itu kita search lokasi kita gan
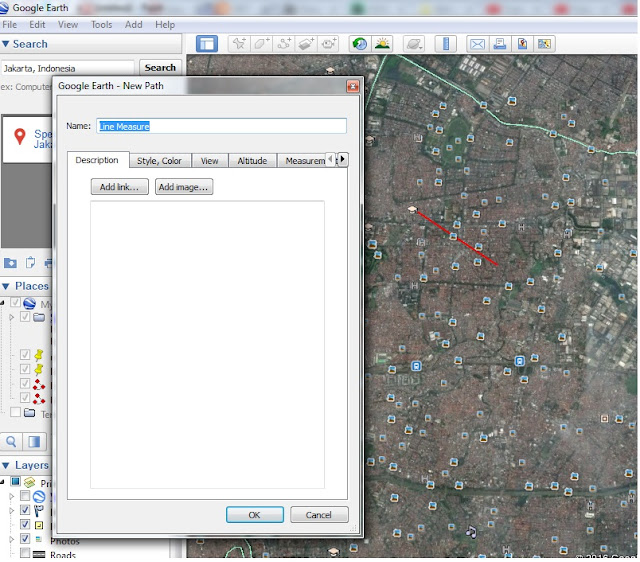
abis search lokasi terus munculah lokasi yang dicari .. abis itu teken gambar penggaris gan klik kiri lokasi awal lalu tarik krusor ke lokasi kedua klik kiri lagi ntar akan muncul seperti yang digambar..
abis itu tinggal save aja gan..

abis di save muncul kayak gini gan klik oke aje ye..
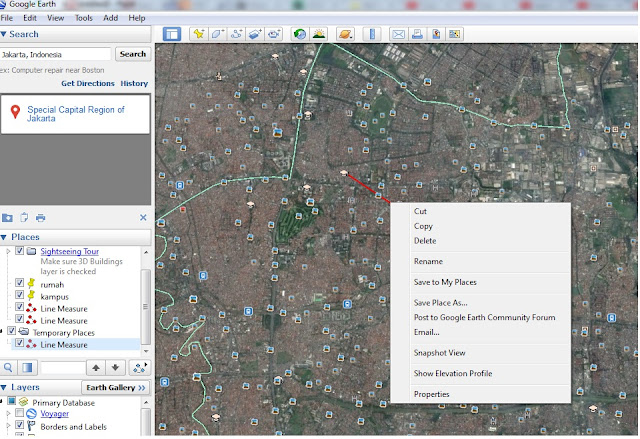
abis intu... klik kanan tu garis merah nya gan .. di passin ya gan sampek bisa klik kanan pokoknya.. rada susah soalnya.. abis tu kli show elevation profile
setelah itu di klik maka hasilnya
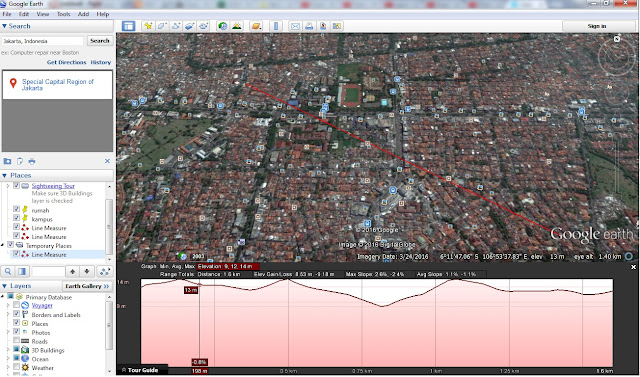
taaarraaaa... itu di atas hasilnya gan gambar grafik itu merupakan kontur tanahnya gan dan saya sedih gan ternya banyak rintangan dan hambatan gan alhasil ga jadi nembak wifi.. hehehe
sekian dulu gan .. apabila saya salah mohon dimaafkan..
terimaksih..
Kali ini transer ilmu tentang GOOGLE EARTH.
apa itu google earth? google earth adalah https://id.wikipedia.org/wiki/Google_Earth baca sendiri di situ njeh gan.. hehe..
intinya sih saya mau nembak wifi gan yg ada di sekitar rumah saya nah untuk nembak wifi itu harus tahu dulu nie jarak dan hambataan serta rintangan apa aja yang menghadang. nah dari pada saya naik" genteng clengak clengok ga jelas sambil bawa teropong buat ngintip tower wifi kan ga etis gan. salah-salah malah dikira ngintipin orang mandi kan jadi bahaya..
nah solusinya kita pake bantuan dari mbah turunannya mbah google yaitu google eart
langsung aja agan download sie turunannya https://www.google.com/earth/ ini wajib di download gan karna harus versi desktop... abis download jngn lupa di instal
nie tampilan setelah di instal

setelah itu kita search lokasi kita gan

abis search lokasi terus munculah lokasi yang dicari .. abis itu teken gambar penggaris gan klik kiri lokasi awal lalu tarik krusor ke lokasi kedua klik kiri lagi ntar akan muncul seperti yang digambar..
abis itu tinggal save aja gan..

abis di save muncul kayak gini gan klik oke aje ye..

abis intu... klik kanan tu garis merah nya gan .. di passin ya gan sampek bisa klik kanan pokoknya.. rada susah soalnya.. abis tu kli show elevation profile

setelah itu di klik maka hasilnya

taaarraaaa... itu di atas hasilnya gan gambar grafik itu merupakan kontur tanahnya gan dan saya sedih gan ternya banyak rintangan dan hambatan gan alhasil ga jadi nembak wifi.. hehehe
sekian dulu gan .. apabila saya salah mohon dimaafkan..
terimaksih..


